CAGD 230 Digital Modeling
Game Scene Final Progress Post
For this project me and my group (Edson Alvarez and Michael Bohmann) worked on creating a scene based off of Star Wars in the old Republic era, specifically the planet of Tatooine. The scene is meant to depict a simple small Tatooine village somewhere in the endless desert. The feeling of the scene should be that it is a small dot of life in a vast barren wasteland.
I ran into a few issues but none were particularly difficult to deal with. I had to remodel my hut but it made it look much better and had to change one small part of the moisture collector due to UVing issues. I also had some trouble working on the Unity scene which Edson ended up finishing working on. I estimate I worked on this project for 15 hours or so but I am not really sure. 

 Here are my texture images for the Moisture Collector (top) and the hut (bottom). The texturing for these models was fairly easy. For the hut I used a plain texture concrete texture with a dirt layer. For the moisture collector I used some simple white and metal.


Here is the final screenshot of a couple of my models and one of Edson's on the left. I think the moisture collector turned out pretty nice despite its simplistic pieces. The hut could have been better but gets the main shape across nicely. This image is from my earlier version of the unity scene which Edson ended up changing a fair amount. Still a pretty nice shot.

Here is my source image I was inspired by for my models.

Week 4 Progress Post
So this week I worked on UVing and texturing my models. I had to make a small change on the moisture collector as the modified cylinder I had used was impossible to UV. I ended up just using a regular cylinder there instead. I still am unsure how to reduce the number of tris for my model but hopefully what I have is fine or I can just modify it.  The UVing for the hut was quite simple as it is just basic shapes to some extent. The current texture I used was a white concrete with some dirt texturing. I might also add a different texture for the door come to think of it.
 The UVs for the moisture collector are surprisingly simple after removing the one troublesome part. despite the density of parts. I need to find a new texture to use for the moisture collector as the off-white concrete I used for the hut will not work for the moisture collector. I need to find a white-painted metal texture to use for the moisture collector.
 I am looking forward somewhat to putting all this in unity as I have been taking CAGD 180 this semester and the basic ins and outs of Unity are still familiar to me. First I need to make sure we as a group do not have too many tris. I might also be able to squeeze out a power generator before this is all finished but I am uncertain of being able to do that.


Week 3 Progress Post
I did not end up making a huge amount of progress over break but did make some important improvements to my two current models. I am not quite finished or satisfied with either quite yet. Notably I need to reduce the number of segments in the cylinders to reduce the faces count. Wasted geometry is never a good thing. In general I am fairly satisfied with the shapes but may revise them when I get to reducing the faces count. After I deal with the face count I will texture these up which should be relatively simple.


Week 2 Progress Post
This week I made a fair amount of progress modeling the hut and the moisture collector. I am currently only at the starting point in terms of these models but have the base foundations done. I will need to modularize the hut but I want to refine the shape a bit more first. It is a bit more Yurt shaped than I would like as the iconic huts on Tatooine are more Igloo shaped. Once I add the entrance and some other details the hut should look much better. I still would like to figure out how to make a more rounded and less pointed top though.

For the moisture collector the trouble will be in making the more complex shaped parts and adding the appropriate details. For example the base is fairly complex as it has some odd indentations on a semi-circular part. Though as I write this I am thinking of a possible solve involving extruding part of a cylinder then moving parts of the new extrusion inward to create the necessary indentations. There are also a large amount of tiny pieces sticking out of various parts of the moisture collector which may be somewhat hard to model with appropriate detail though perhaps texturing will help cover up the gaps.

After finishing modeling and texturing these two components I will then work on some of the remaining scatter terrain for the scene and the power generator. Then I will have to see what remaining items need modeling work. Overall progress has been pretty good and I look forward to making good progress in the upcoming days.
Week 1 Progress Post

For this project my group and I will be making a scene set on Tatooine based on its depiction during the Old Republic era. We took lots of inspiration from the concept art and some screenshots from the game. I particularly like Tatooine as it has the most down to earth feel of the more popular Star Wars planets particularly with all the hateful sand. It is also the most important planet in the main Star Wars story which is also relevant. There is a surprising amount of types of buildings and small terrain pieces to use for the scene. One thing I am interested in is the small or large differences between Old Republic era Tatooine and Clone Wars / Empire era Tatooine. For example all speeders and spaceships are certain to be different due to the passage of time and the way technology develops within the Star Wars universe. I will be working on a couple of the sand huts as well as a portion of the scatter terrain such as the moisture collectors and cargo crates. While humble these, particularly the moisture collectors, are iconic parts of what makes Tatooine feel right.

The scene is inspired partially by this reference image which show several of the items we intend to include in our scene as well as the general feel we are aiming for. This upcoming week I plan on starting on modeling the huts and perhaps also the cargo crates. I have not done any modeling so far as the past week has been rather busy.
Western Scene Final Eportfolio Post

This final week of working on this assignment was relatively uneventful. I primarily worked on the bellows construction which was fairly simple after the best way to do it was explained to me. I also had to make the various pieces around the bellows itself which included the handle, the hook, the wall mount and pole for the handle, as well as the front metal piece of the bellows (unsure of the term for it). After that I made the roof which unfortunately due to its angle and the size of the other parts of the scene was hard to get into the renders. The roof was just made up of simple primitive cubes and cylinders for the beams, boards, and the two roof and one upper ceiling pieces.

Assembling the scene was the penultimate piece of the puzzle and there was a bit of work to do. Part of it was already assembled but when I moved in the bellows I ran into my first assembly issues with size. the bellows were too small so I had to resize it a fair bit to get it to work and some pieces had to be resized slightly differently to make it fit in the scene. Next came the pieces from the polish assignment which also required some different resizing for the bucket and the barrel and accompanying items. Lastly I added in a orange sky-dome light and a directional light. In previous scenes I used a blue sky-dome light and it made the scene too blue so this time I went for a bright orange color for a western sunset look. The color actually kind of reminds me of the way the skies looked like around here during the recent fires as the smoke tinged the sky a dirty shade of orange.

The last piece of the puzzle was doing the renders and photoshop. One annoying problem I ran into while working on the renders was trying to get everything in shot and had to stretch the floor a bit to allow for everything to be in the view of the render without going beneath the floor. The angle of the ceiling and the length of the walls made seeing the bottom part of the angled roof in the render very challenging and had to settle for a mere sliver of the ceiling. The renders took a couple minutes due to all the stuff in the scene but nothing my computer couldn't handle. In photoshop I had to fix some weird white spots in the render as well as brighten the scene up a bit after the ambient occlusion multiply layer made the scene a bit too dark. For some reason the renders caused weird white spots in certain areas which may have been overly extreme reflections. I had to digitally alter these in photo shop which was surprisingly difficult to do as it was hard to remove just the bright white spots without being too obvious about it. I also reduced the orange hue of the scene using photoshop alterations. In the end I am fairly proud of what I have been able to do and look forward to doing even better in the future.
Western Scene Progress Eportfolio Post 2
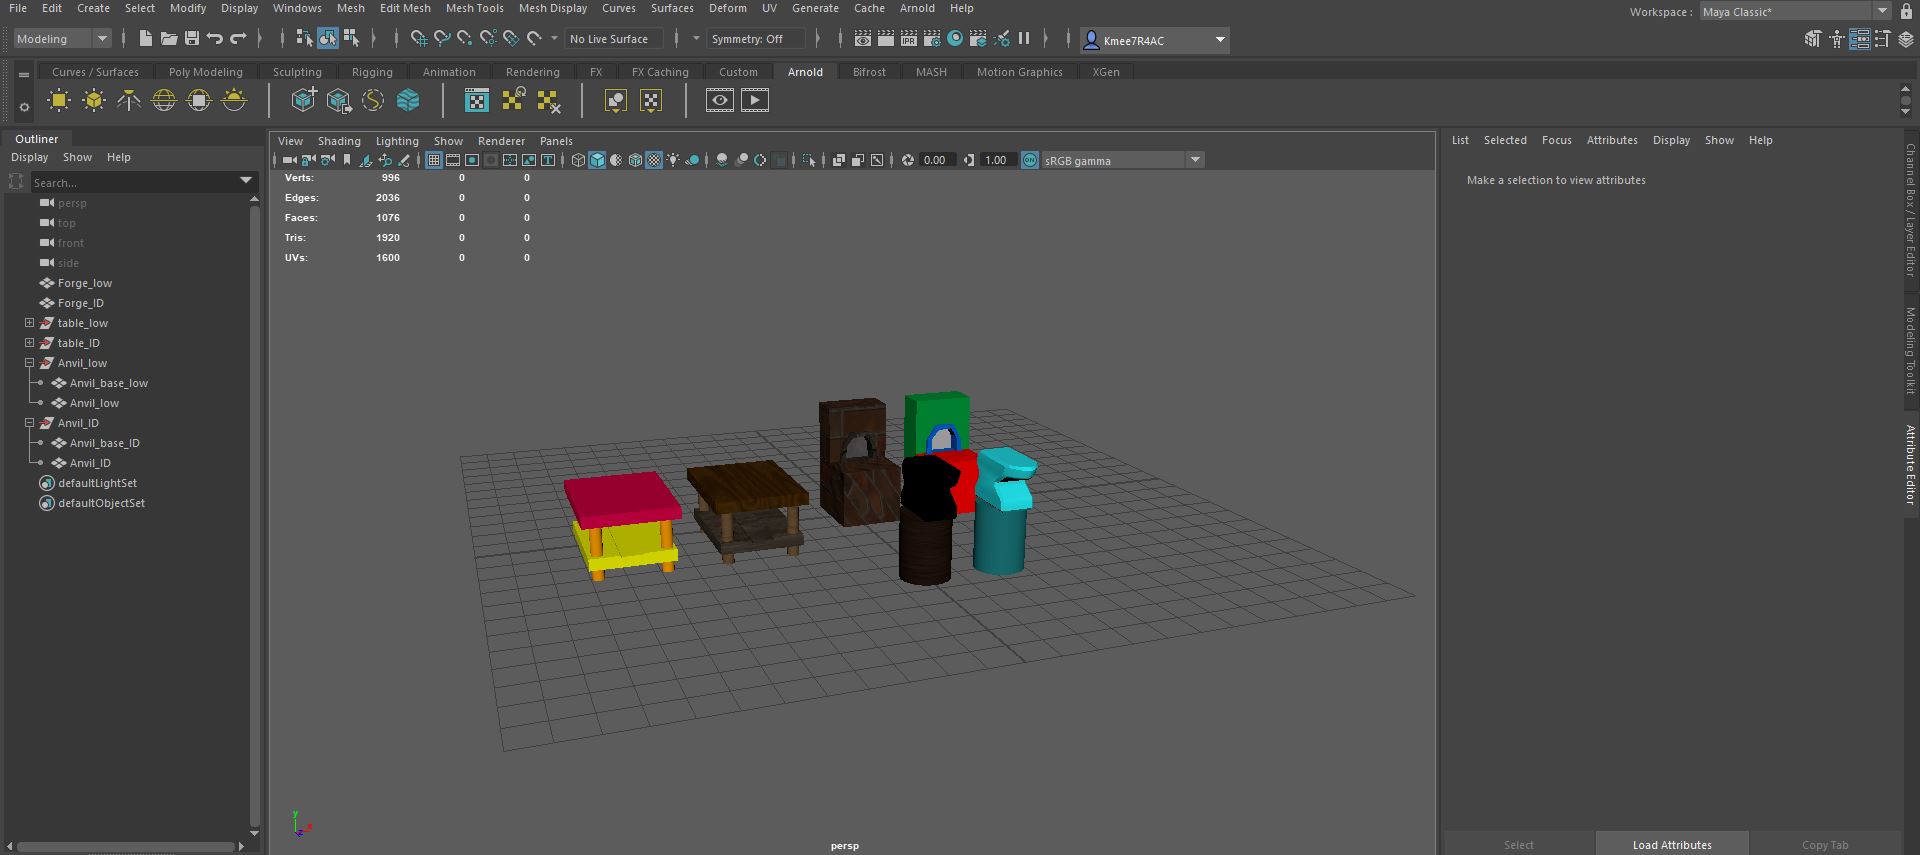
This week I worked on adding several of the important elements of the scene with the anvil and its base, the work table, and the blacksmith's forge. The progress this week has been pretty good and the last major element I need to finish for the scene before compiling everything is the bellows and the accompanying accoutrements. I might also make a few more tools like some more hammers, tongs, and other such relevant bits of equipment a blacksmith might have. After the finishing making the remaining scene pieces the next step will be to add the elements from the polish and prop trio assignment to the scene to fill it out some more.

Progress this week was pretty good but I did have a few issues with modeling I might have to deal with next week. The biggest issue is the forge as it started life as a single polygon primitive cube before being warped into the furnace it is now. The base of the forge UVed very strangely and created a very weird texture. The main part of the forge also has slightly too large brick texture so I might have to adjust the UV to get the brick texture closer to what the source image looks like. I might also retexture the table somewhat as the colors are not a great fit with the source image with the current texture set. The anvil might need to be re-textured as well as it turned out very dark though that might just be some small setting thing I need to fix. Overall I am looking forward to a pretty good finish for this project.
Western Scene Eportfolio Post 1


I am currently working on the background wall of the scene. This is mostly pretty plain stuff to start off with. I did do some extra cutting on the wall piece to add some texture to it. I do need to separately UV and texture the floor as the texture was too small in the UV editor. One nice thing was that I had been dealing with some texturing issues recently with my prop trio project but this time things went much better aside from the issue with a far too small floor texture. Over the next week I plan on filling out the remaining background elements with the floor, other wall, furnace, etc. After those items I will work on the larger more complex items like the anvil, the work table, and the forge bellows. I do like this wall in particular as it a somewhat unique design with the fence and the main wall as well as the large poles and beams. The fence is a particularly cool looking if somewhat odd part of the background wall. The furnace will likely be quite the beast to UV with all the bricks and the overall fairly complex design. It might not be too easy to texture the furnace either as their are a large number of bricks and other fairly complex elements to the design though when I do get to the forge bellows that will be the hardest to model, UV, and texture. Overall I am only at the start of this project but feel this should turn out well.
Polish Assignment

This assignment has turned out the best of the ones so far and I feel I am making progress. The final render did not turn out so well as I chose an overly blue skybox. During this assignment I worked primarily on completing the barrel, the bottle, and the flour sack. I also did a hammer and a bucket for the new props. These were not the most detailed props but had to do as I had so many other things to finish for the assignment. Despite numerous setbacks with substance painter I managed to finish this assignment decently and look to do better in the future.
Prop Trio Assignment

When I first did the prop trio assignment I was unable to complete the trio as I ran out of time once again. A factor in this was unexpected upheaval with some family coming to stay with us for a few days out of concern with the fires near their home. This contributed to my failure to properly allocate time to complete the other items aside from the lantern. The lantern turned out well in my opinion though I could have found better metal colors. I would later finish the bottle and flour sack when I was working on the polish assignment.
Barrel Assignment

This assignment did not go well at all. I suffered quite a few setbacks. For one my barrel ended up very fat and stout which was disheartening at the time. I did not realize how long it would take until it was too late and was unable to complete it. A particular problem that stopped me right in my tracks was UVing which got very messed up due to the top and bottom of the barrel. When I needed to use the barrel in the Polish assignment I went back and redid the top and bottom and re-UVed the whole thing. I was then able to texture the barrel reasonably well in substance painter though I had begun to run into substance painter issues by that point.
Polygon Primitives Assignment
This assignment was not too bad but Didn't turn out great as I was struggling to learn certain things about Maya. My scene was a bit sparse with items because I stretched out the parts from the original image to fill a slightly larger area. At one point I had to resize everything in order to resize the scene for the human model. I still need to deal with the skybox overly affecting the color of the rest of the scene but this particular one I felt was pretty decent and gave me Old School RuneScape vibes from the texture simplicity and pallet.
Comments
Post a Comment